I started with a Pinterest board and a dream! Our new home reminds me of an English or French cottage. Very demure, very Snow White. I wanted to add some whimsy into it since we had been living in our starter home for the past 11 years. Now was an EXCELLENT time to change my home design tastes!
Design Your Color Drenched Room in a Day
The easiest and best advice I can give you is to get on Pinterest and start pinning. Do you already have a “Home Decor” board made? Excellent! Take a look and see where you design tastes are leaning. If you don’t have a board start making one! Search up design styles you like or type in “Home Trends 2024” or “Interior Design Trends 2024” – something like that. Take a look at the rooms you’ve just pinned. What colors are you seeing, anything bold that stands out? I knew we wanted to go with a jewel tone based off the office pictures I was adding. Blue & Green are also some of my favorite colors and I knew I wouldn’t get tired of looking at the paint no matter how bold it was.
Choosing curtains for your color drenched room? Read my blog post here for an easy How-To!
Step-By-Step Guide for Coloring Drenching a Room
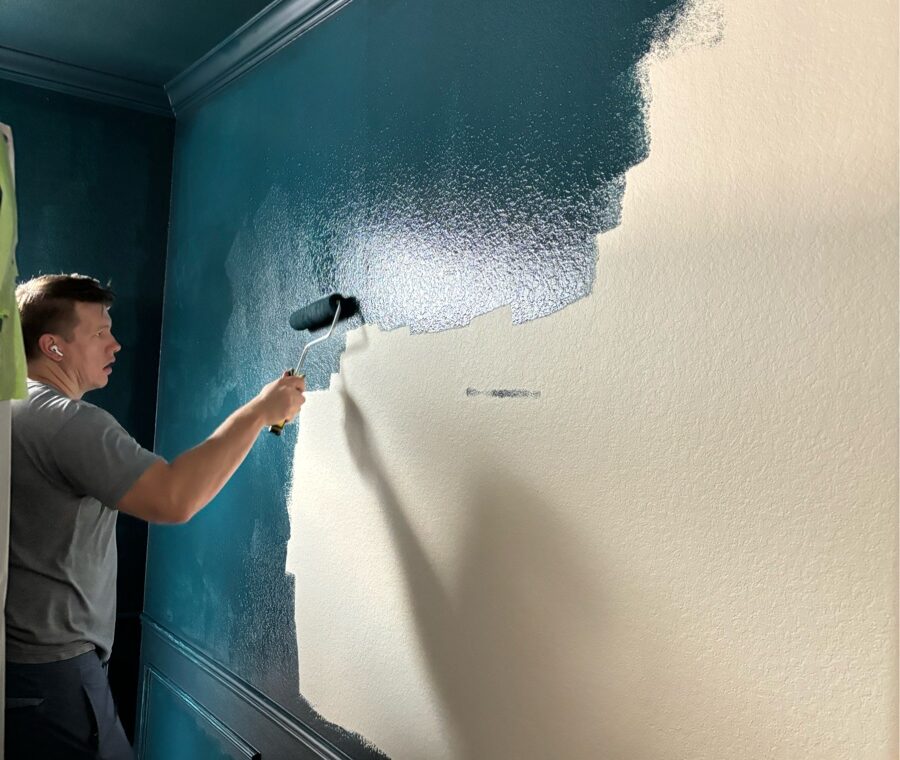
- You’ve picked your color scheme! Excellent! Now that you’ve looked through Pinterest and know what shades you’re leaning towards trust me and go get multiple samples. I ended up finding shades lighter and darker than DARK NIGHT by SHERWINN WILLIAMS. I painted patches on different walls to see how the natural sunlight hit it and gave it a couple days of walking by to see which one I truly wanted. I ended up going with the original paint color I had picked, but definitely happy I splurged on a few more just to solidify my choice. When we bought the full gallon we chose the eggshell finish, gloss would have reflected light too much and flat would be hard to clean and look dull in the light.
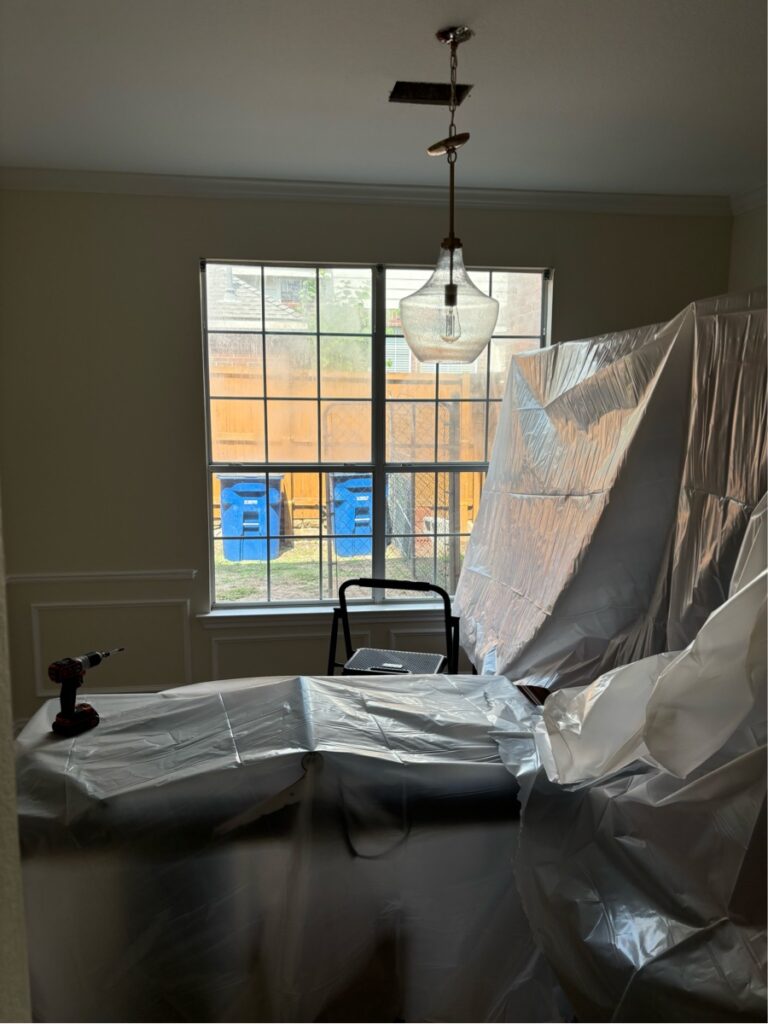
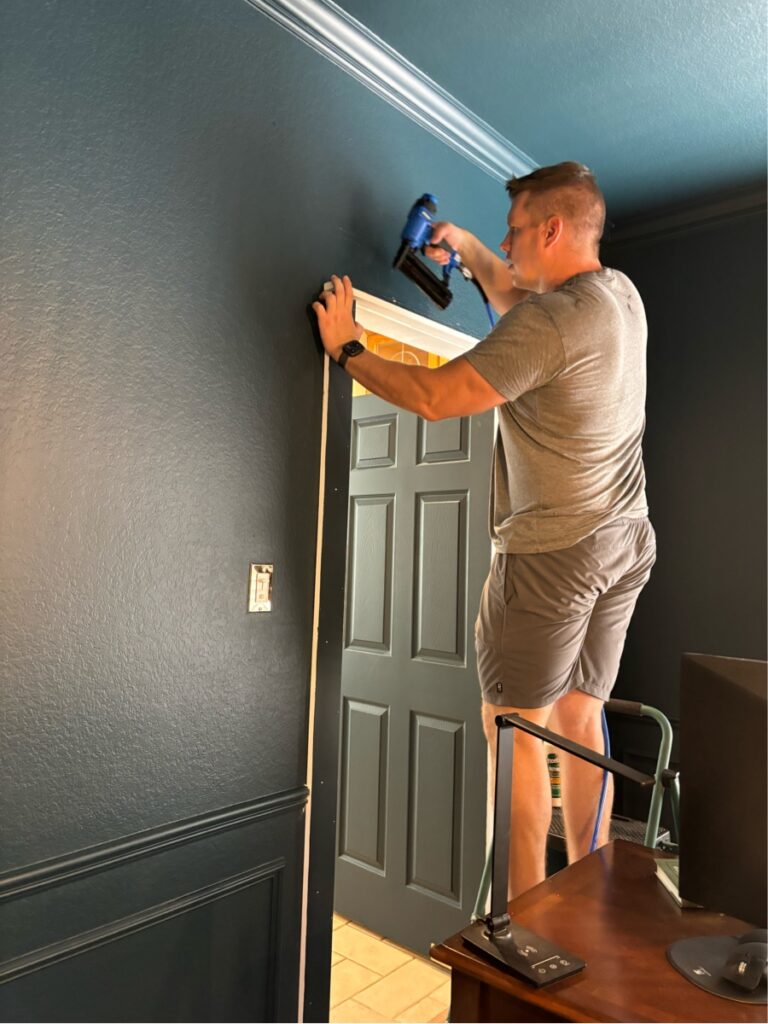
2. Buy your supplies. We used: Paint roller, Long Pole (for ceiling painting), paint brush (for crown molding painting), step ladder, caulk, razor blade, painters tape, angled brush (getting into cracks of molding), and paint tray.
3. We only taped where the baseboards met the floor since everything was the same color.
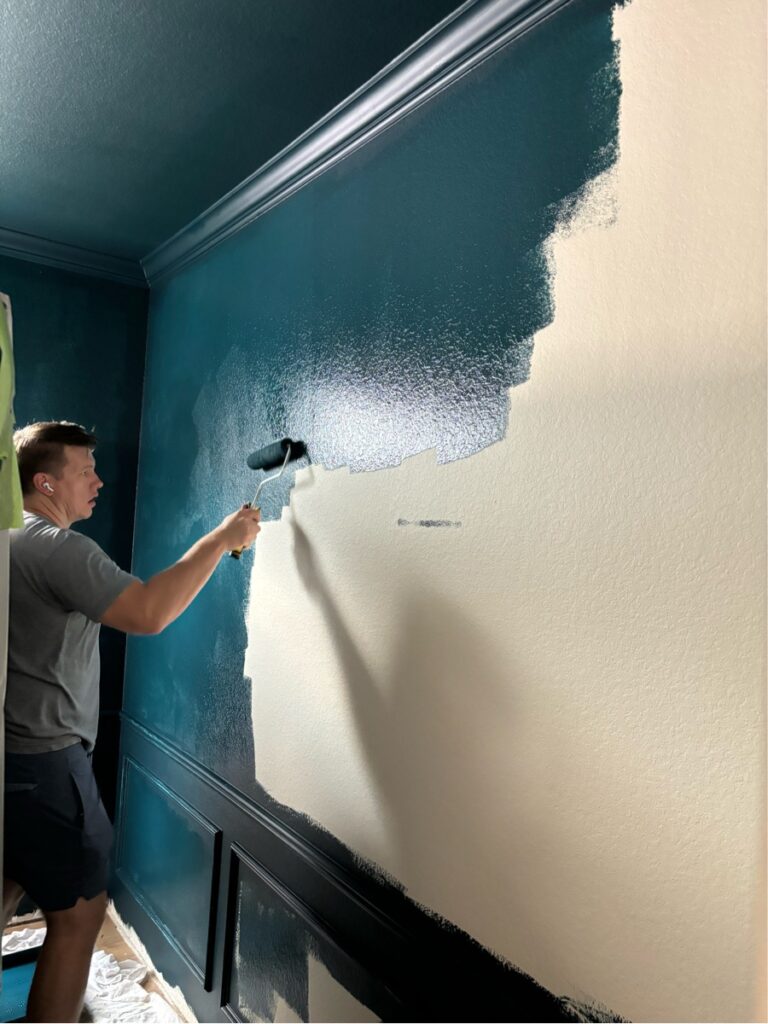
4. Start with your ceiling. It sounds weird, but this will help you avoid dripping paint on to freshly painted walls later on. Let the ceiling paint dry. Add another coat. We did not have to prime since our office was already a cream-white color.
5. Next, paint the crown molding if you have it and the rest of the walls. We risked it and didn’t put a tarp down knowing we’d be able to use a baby wipe for any spills or drips on our luxury vinyl flooring. Our office did take two coats of paint, so make sure you let that first coat dry before applying the second.
6. Go around and do any touch ups.
There you have it!! Stay tuned for my styling of this moody & gold accented office! For more DIY & Home DIY’s subscribe to my page or follow me on socials!