How cute are the viral Taylor Swift giant friendship bracelets?! Decorating for my 10 year-old’s birthday party, I knew I had to create this adorable life-size decoration. So easy, so cute and we ended up keeping the jumbo bracelets hanging until the end of her birthday month!
Taylor Swift Giant Friendship Bracelets Will Make The Party!
I vividly remember my 10th birthday and the excitement I had with the fact I would soon be “Double Digits” in age. I knew for my oldest child’s birthday I wanted to create a core memory and make it as special as possible – one way I could do this is through party decor! For all my kiddo’s birthday’s I’ll decorate the night before to surprise them in the morning with donuts & party decorations. Since this was a milestone birthday date I decided to go all out – and what better way than to create the Jumbo Friendship Bracelets for my girl!
For the rest of my party mantel decor check out this blog post with full details and how I attached everything & decorated for my daughter’s 10th birthday!
Step-By-Step Taylor Swift Giant Friendship Bracelet Banner DIY
Overall this DIY took me about 30-45 minutes from start to hanging it on the mantel.
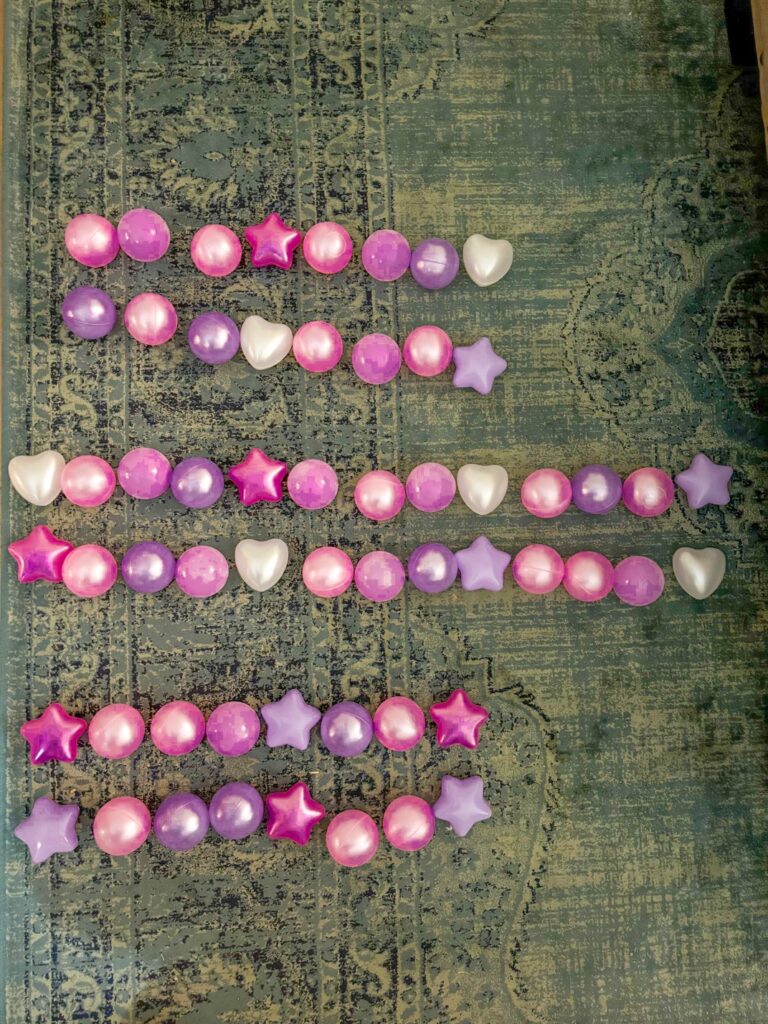
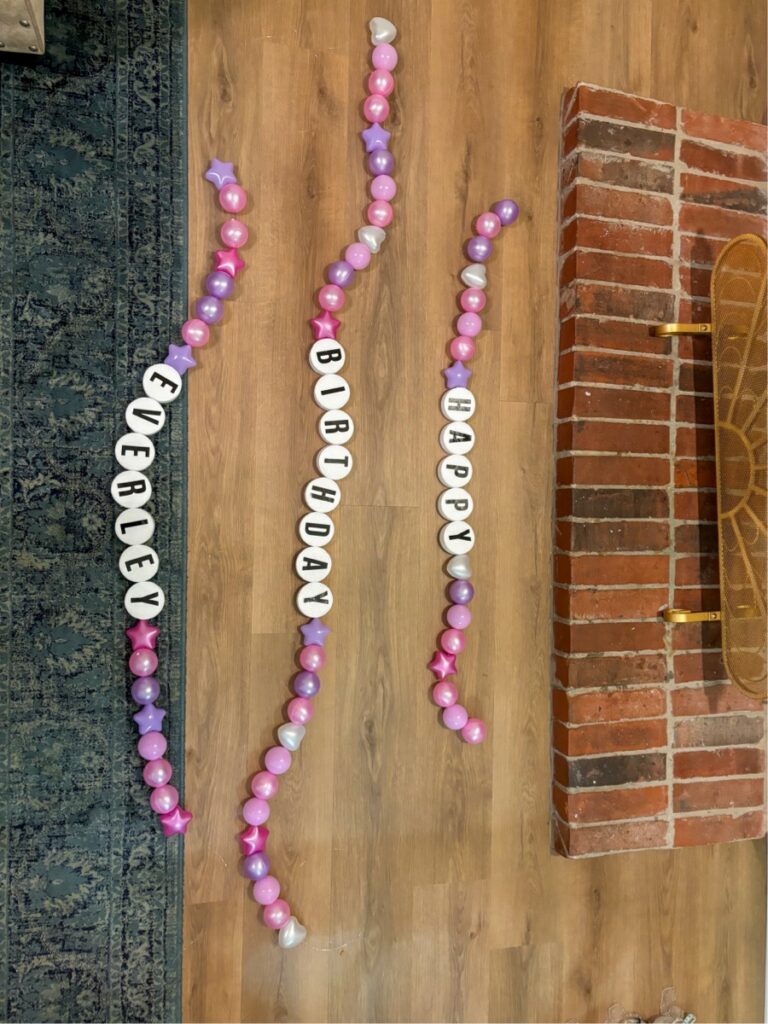
- Lay out all of your supplies starting with the “Big Beads”. For the “HAPPY” banner have 16 beads picked out. Lay them out in 2 rows of 8. (Your beads can coordinate in a pattern or go crazy and mix and match colors and shapes.) The 8 beads will go in the front and the back of your HAPPY letters.
- Next, pick out 26 beads. Lay them out in 2 rows of 13. The 13 beads will go in the front and back of your BIRTHDAY letters.
- If you plan on doing a 3rd row it all depends on how many letters are in your child’s name. Overall the last row needs to have around 22-23 beads. My daughter’s name is Everley so I chose to have 8 beads in front and behind her name. Set all your bead rows to the side.
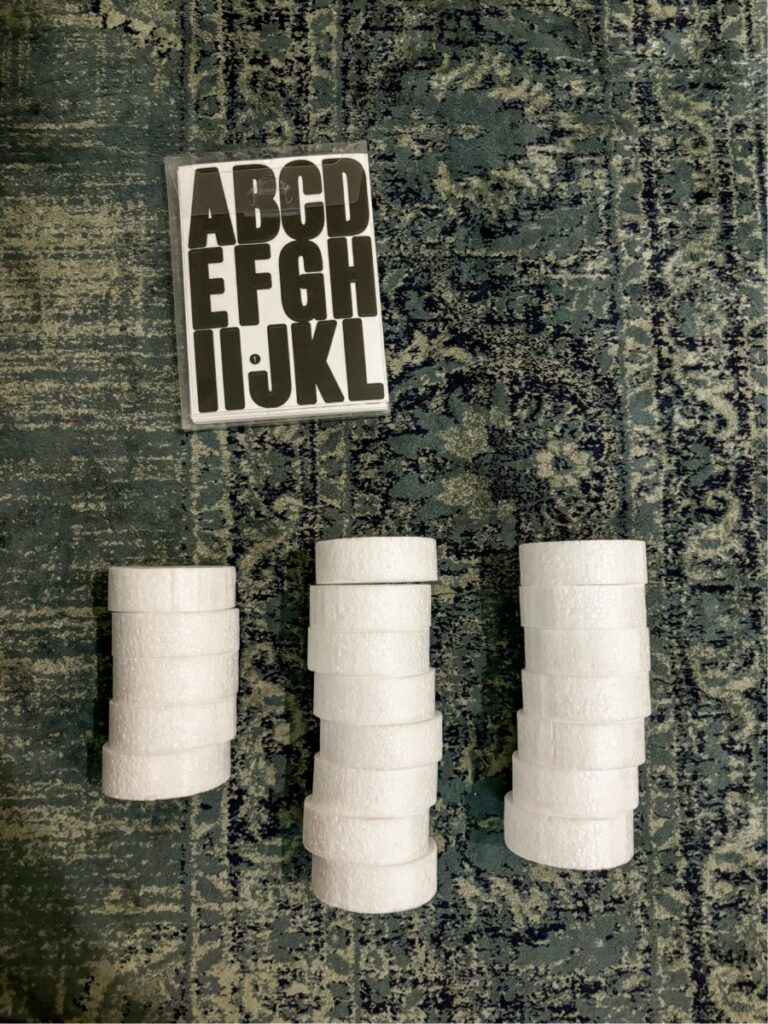
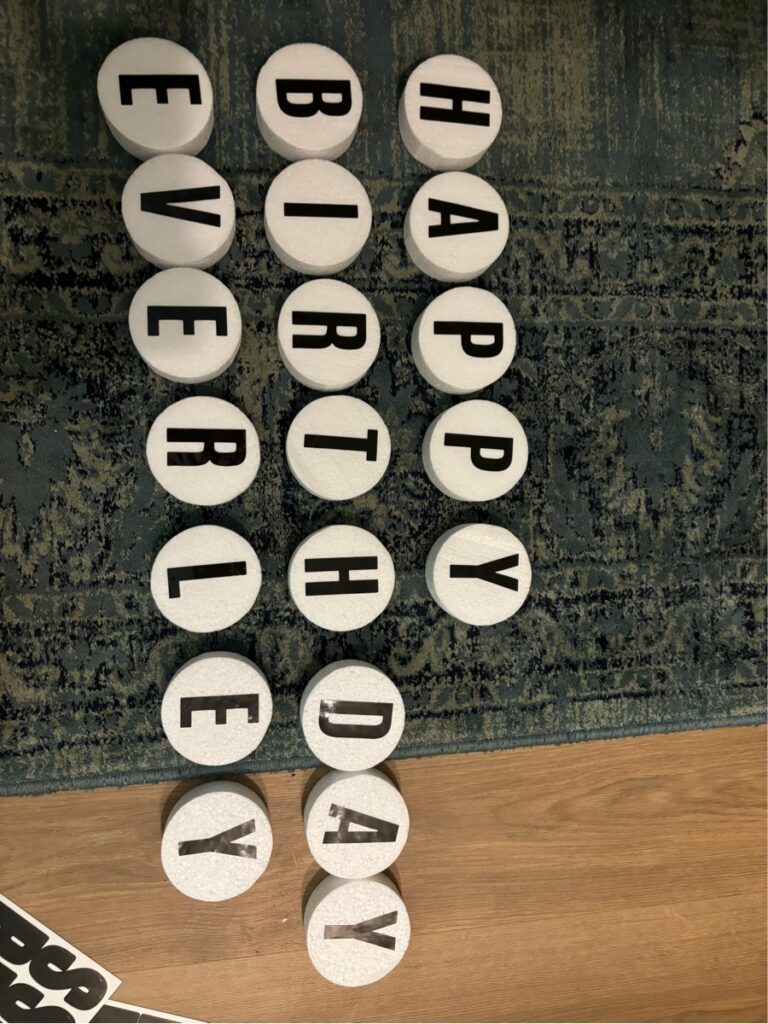
- Now get out your styrofoam disks. Pick out 5 disks for HAPPY, 8 for BIRTHDAY and then however many letters are in your kiddos name. Use your sticker sheets and gently place your letters centered on each styrofoam disk.
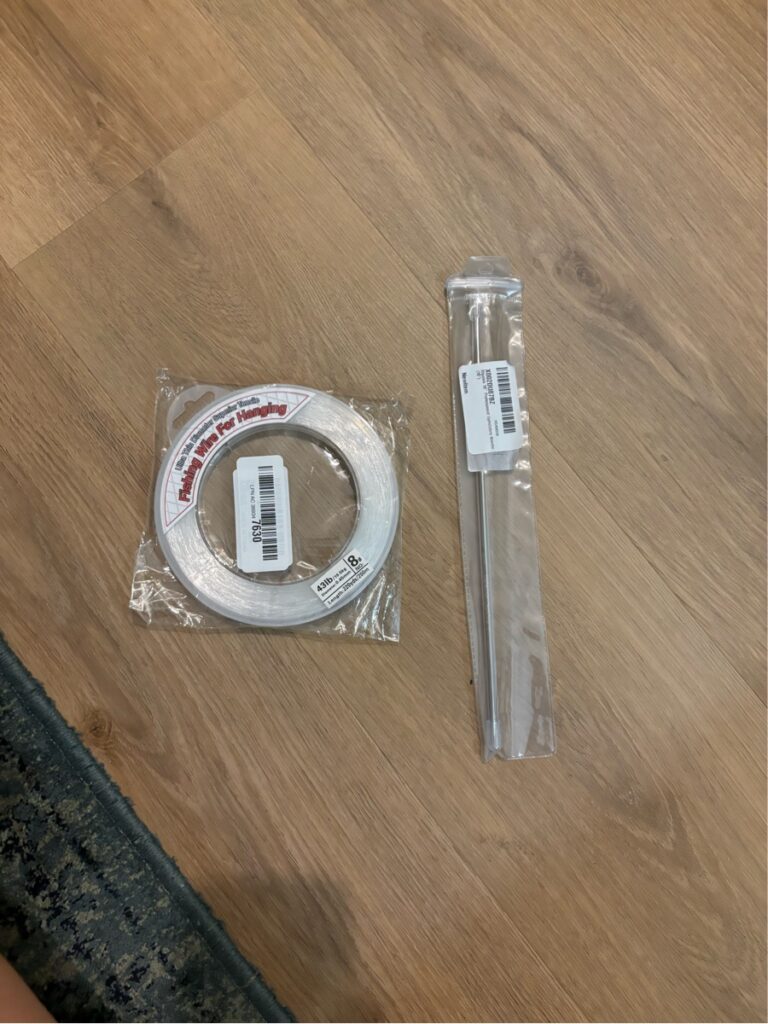
- Now we string the BEADS & LETTERS! Ever so carefully take your fishing line and pull a few feet out to get started. (Make sure you have about a foot or so excess thread on each side of the bead banner in order to make loops for hanging later on.) Take the end of the fishing line and string it into the end of your upholstery needle. I tied about 3 knots to secure it to the needle. You will CAREFULLY begin to string your sweet little beads. Starting with the HAPPY row, string your first 8 beads, now string the styrofoam disks for “happy”, then follow it up with your last 8 beads. Always make sure your fingers, hands, body parts are out of the way when the needle is going through. The styrofoam was the most difficult, but just get it as centered as possible. Once your’ve strung the entire “happy” line loosely tie a knot at the end. This will save you from your beads coming undone when you go to hang them up. Trust me, I had to restring a few.
- Follow up with your second banner for BIRTHDAY. String 13 beads, followed by your “birthday” disks, finish with last 13 beads. Loosely tie fishing line into a knot on the ends when completed. (Optional: you can begin stringing your child’s name, just make sure you have an equal amount of beads on each side of your lettered disks.
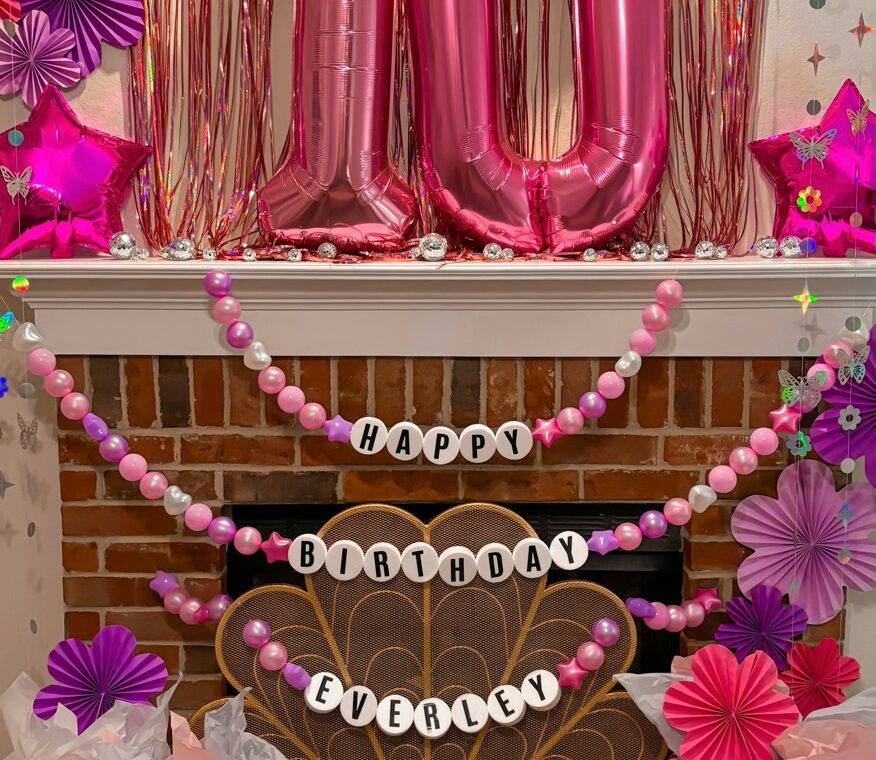
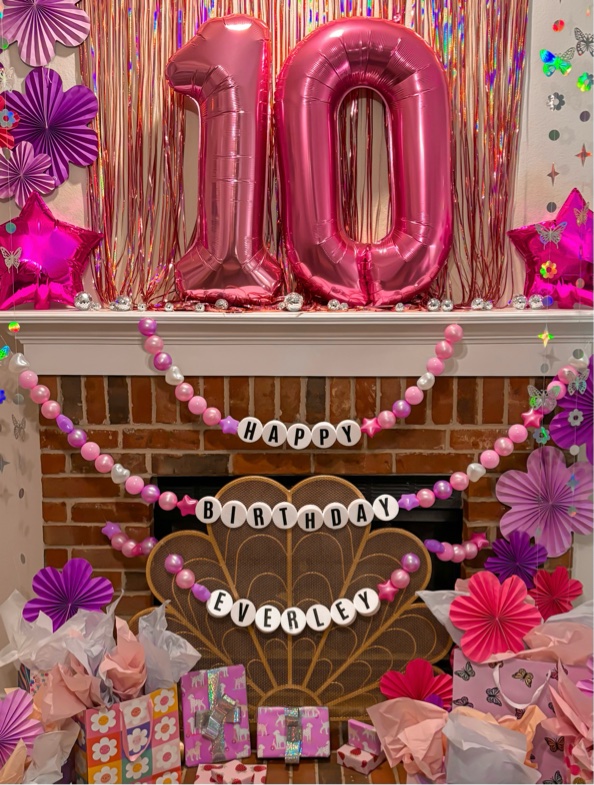
- TO HANG BANNER – Here is how I recommend you hang your banner. I purchased mini size all plastic command hooks. I attached 2 command hooks on top of the mantel towards the center for the HAPPY banner. About 10-12 inches out on each side, I attached 2 more command hooks to hang the Birthday banner. For my daughter’s name I attached command hooks to the front of the fireplace on the brick. Make sure you push the hooks down and hold for a few seconds to let the adhesive stick really well. (The command hooks would also work really well on a wall or door just depending on where you hang your friendship bracelets.) Once you’ve decided your placement of banners, tie big loops at the end of each string in order to hang off the hooks.
There you have it!! What better way to celebrate a Swiftie’s birthday than with Giant Friendship Bracelets!! For more Party & Home DIY’s subscribe to my page or follow me on socials!

